Saturday, December 25, 2010

Sunday, December 19, 2010

$5 Homemade Brick Pizza-Oven - Test #1


With my first semester in grad school officially in the books, I decided to take a day to decompress. I've had a lot of things on my "to-do" list that have been put off to the side because of schoolwork. Making my tiny apartment oven into a better pizza machine was certainly near the top of that list.

So how did I do it? Well, after doing some research on the intertubes, I headed down to my local Home Depot. I picked up a couple (3) regular red bricks (probably should've measured the dimensions of my oven first). I also bought 8, unglazed tiles from the flooring section. They are fairly thin, maybe a tad thinner than a pizza stone. It's important to buy the unglazed (non-shiny) tiles, or else you're going get a big side of chemicals with your pizza. I consulted an HD worker who told me I indeed was buying the unglazed stuff, so I'll let you know if I end up in the hospital anyways!


Altogether, the supplies cost me a whopping $5. No kidding. Cheaper than a pizza stone. After rinsing and wiping down the stones with water and a clean towel (don't use soap- it'll contaminate your pizza's flavor), I rearranged my oven racks to give me enough space to put the stones inside. I set my oven in "warm" for about half an hour to make sure the stones were dry. After the stones were dry, I pulled the brick out and wrapped it with 2 layers of foil (just because). If your oven is bigger than my easy-bake sized one, I suggest putting a few bricks on the side to really make an all-stone enclosure. Next time, I am also going to lower my top rack down so that the "roof" is closer to the pizza, and thus- will brown the top of my crust a little better. We'll see how that goes.

I made 4 pies (in the order that they were made):
1) Bianco Arugula: olive oil, garlic, salt, arugula, lemon juice, olive oil, parm reg
2) "Puttanesca": tomato sauce, sliced black olives, anchovies, capers, red chili flakes, basil, parm reg
3) Puttanesca w/ Moz: Same as above except add shredded moz
4) Red Arugula: Tomato sauce, chili flake, arugula, lemon juice, olive oil, shaved parm

Notes on some of the ingredients:
-I bought 2 Giant-brand, regular pizza dough balls (each cut in half to give me 4 pies). This dough is mediocre (need more salt), but it was convenient.
-For the sauce, I used 1 can of Cento-brand plum tomatoes, rinsed, de-seeded, mashed, drained of liquid, and then mixed with their canned puree. There was plenty of sauce left over.
-I just used Giant brand bagged and shredded moz. Yeah yeah yeah, I know- but i really didn't care. As you can see- I kinda like pizzas with less cheese anyways.
-Olive oil: I've been working my way through a bottle of California Olive Ranch XV. It's pretty damn fruity, unlike the "spicier" notes you get from stuff from Europe. Each has their own strengths. I don't really ever heat it (I just sprinkle it on the final, hot product). I really like this stuff in dressings or on bread. It can overwhelm some dishes though.
-Cento anchovies wrapped around capers in oil

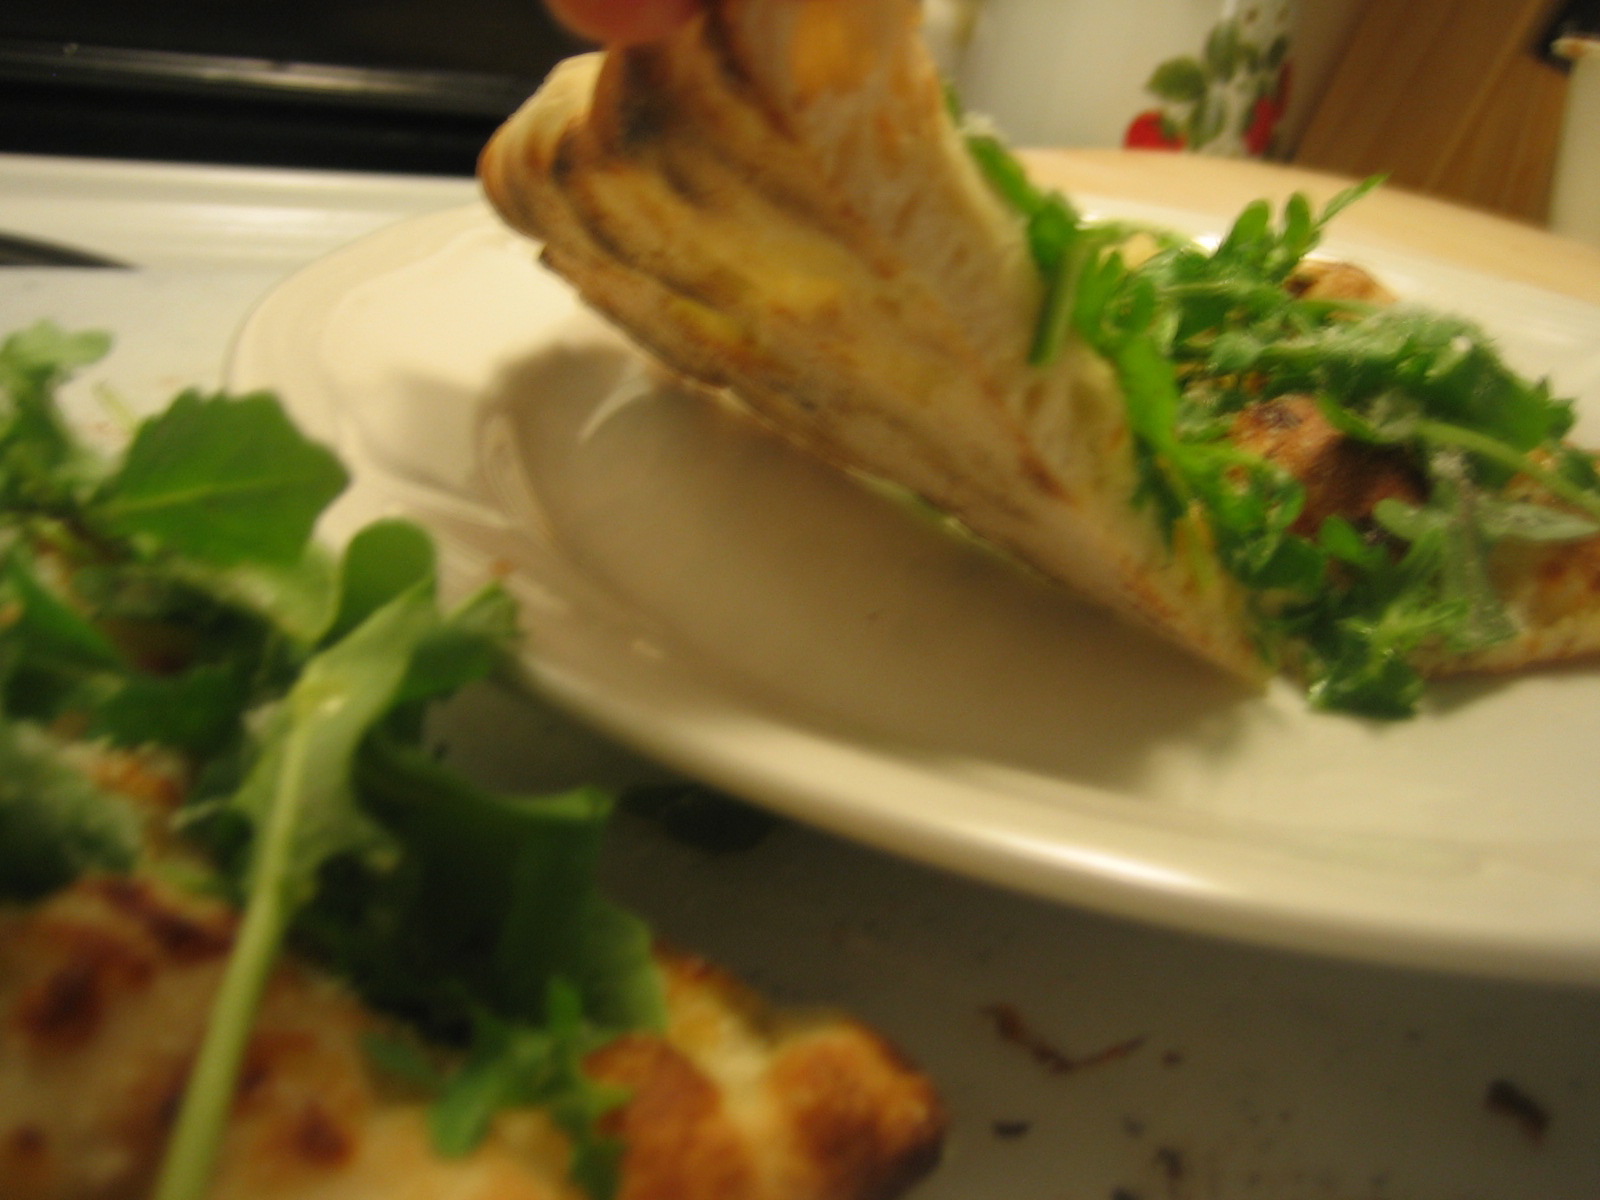
I apologize for the appearance of my pizzas. I haven't made a homemade pizza in months and I'm clearly off my shaping game. The arugula pizzas turned out a little funky. The first one was stretched a little too thick and a dough "malfunction" made the last one hard to stretch beyond a flatbread shape. I also apologize for some of the quality of the pictures. I'm going through post-exam-week caffeine withdrawal, hence the shakes. Excuses aside, here are the results from the first test run.

*Warning: Pizza Porn Below*

Bianco Arugula


Puttanesca


Puttanesca w/ Moz


Red Arugula


By far, the best crust award goes to the Puttanesca w/ Moz. I was able to get the dough stretched out thin enough to give it a good crunch but not too thin that the sauce soaked through.

I'll keep you updated on future trials with this new pizza setup. Keep posted to TtW over the holiday break for more pizza updates, as I reunite in the kitchen with my buddy Nathan. Happy holidays!

Saturday, November 6, 2010

The Full Monty- A Yankee Spin on The Full English Breakfast


For those who know me best, you know that I'm a big fan of the big brunch. Today's post is a good example of that passion. In England and English-based societies, it's not uncommon to have a Full Monty breakfast on the weekends. No- I'm not talking about that British Full Monty. This version is a full-on English breakfast, with enough substance to induce a food coma or fuel for a busy day (depending on your schedule).


The picture above is a version I had this past summer after a long night on the streets of Sydney. Going clockwise from 12 o'clock, we've got sausage, seared tomatoes, a potato cake, poached eggs, some garlic toast (like Texas toast), and some bacon (sorta like Canadian bacon to us, Yanks). Baked beans are also a common find.


I've got quite a bit to do today, so I needed a meal that will stick to my ribs and give me a well-rounded nutrition balance until I slow down for dinner. Mine is sort of a Mexican-inspired version, just because I had those sort of ingredients in my fridge. From 12 o'clock going clockwise, I've got:
-Sweet sausage (chorizo would have been preferable, but that's what I had)
-Sliced avocados with a squeeze of lime and S&P
-Two corn tortillas with cumin spiced (canned) black beans, chipotle salsa, and over-easy eggs
-Seared tomatoes seasoned with S&P

There's protein from the eggs and the sausage, some of that "good fat" from the avocado, filing fiber from the beans, and the seared tomatoes provide a nice sweetness and complex flavor. Bring on the day!

Sunday, October 31, 2010

Get to Know: Bison

Today I am featuring a meat that is not a common part of many Americans' diets: bison. Also known as buffalo, this red meat is leaner than 90% ground beef (and a heck of a lot tastier), holds its moisture fairly well and has a slightly softer consistency than ground beef, and is usually raised on grass fields. Pro-environmental propaganda has wooed me to eating less red meat lately, in order to curb my carbon footprint, but I feel the free range, grass fed buffalo isn't as bad for Mother Nature (let's forget the fact that it's shipped from across the country). If I am wrong, please do not correct me because I love this stuff too much.

As I was doing my routine grocery shopping last week, I saw that all the bison on the shelf was discounted for quick-sale at $2 off per pack, making it only about 50c a pound more than the 90% lean, Giant brand ground beef. I bought every pack they had (8lbs in all). It is actually more available than you think. Most middle to upper class grocery stores should carry the Great Range brand of 1 lb. packs from Colorado. I've found it at Kroger, Martins, and Giant in the DMV region.

Anyway- let's get to the good stuff! You can substitute bison in for most of your ground-beef recipes, like burgers. I've got two examples today: chili and meatloaf.


BISON MEATLOAF:
1 lb package of ground bison
1 egg (all-natural or organic preferably)
Parmesan and/or pecorino cheese
Garlic powder
Pepper
Kosher salt
Seasoned breadcrumbs
Ketchup (get the organic or HFCS-free stuff- it tastes a lot better)

Optional:
Fine-diced raw, or sauteed, onions
Mrs. Dash (gotta love her)

Serves about 2-4 people (depending on how hungry you are)

Preheat your oven to 350 degrees. Drop your bison, egg, breadcrumbs, cheese, and seasoning into a bowl. FYI: I don't cut my meatloaf with a whole lot of breadcrumbs. Wash and dry your hands, and then dive right into your meatloaf mixture. I feel that the hand mix technique is the best way to make meatloaf. Make sure you squeeze the chunks of ground bison so that the seasoning gets equally incorporated into the mix.

Transfer the mix into a loaf pan or square baking dish that has been sprayed with some non-stick spray. Light pack and shape the meat so that it will cook evenly. Squeeze a generous amount of ketchup on top of the loaf, and spread it to coat all of the meat.

Pop your loaf into the oven and let it cook for about 45mins-1hr. Check it after 45 minutes by cutting into the middle of the loaf. If it's still pink, then let it continue to cook. When it's done, pull it out of the oven and let it rest for 10 minutes. Serve it with some ketchup, potatoes and some veg. That's some kicked-up comfort food! You'll never taint your meatloaf with things like milk, sugar, or worstechhherrhire sauce again.


BISON CHILI:
2 lbs of ground bison
2 Green peppers, diced
Frozen corn
1 Yellow onion, diced
3 stalks of celery, diced
Canned tomatoes
2 small cans, tomato paste
1 can the following, drained and rinsed:
-Pinto beans
-Black beans
-Kidney beans
2 cartons of beef stock, low sodium/no salt added

Siracha hot sauce
Garlic powder
Black pepper
Kosher salt
Chili powder
Ground cumin

Serves quite a few bowlfuls, but it probably won't last long.

The veg and beans are obviously up to whatever you like. I think the beans add a lot of heartiness and a lot of healthy fiber that keeps me full. The sweet corn is a nice taste and it's also visually appealing. The key ingredients in my chili are cumin (classic chili flavor and aroma) and siracha. Don't skimp on these.

Get a big pot on medium-high heat. Add some canola or vegetable oil to coat the pot and then add your bison. Season it with salt, pepper, garlic powder, ground chili powder, and cumin. Once the meat has almost cooked through completely (no red/pink), Add your frozen corn, diced onion, celery, and green peppers. After the veg softens a little, I add my canned tomatoes (which I also dice into some smaller pieces) and the stock. I cover the pot and bring it up to a simmer while I open and rinse the beans. Add the beans and then the tomato paste. The tomato paste will thicken your chili as you stir it in and bring keep it at a simmer. It also adds a bold and slightly bitter tomato flavor that adds a lot of body to the chili.

At this point, I begin to season. I usually add enough cumin until there is a distinct "cumin aroma" from my chili. I add a few good shakes of chili and garlic powder. Slowly, squirt the siracha in (this stuff is hot). Give quite a few grinds of black pepper. Lastly, salt to taste. Overall, I try to make 3 layers of "heat" in my chili, each with its own flavor: black pepper, chili, and the siracha.

Let the whole pot simmer for at least 30mins or so until you readjust your seasoning. I serve it with some grated cheddar and jack cheese, a scoop of plain, non-fat Greek yogurt, and a little cilantro. A side of cornbread would also be ideal.

There's a lot of flavor going on in here. Obviously, there's the triad of spice that I mentioned earlier. The cheese and yogurt provide a temporary relief from the heat, until you take another spoonful! That mild-gamey, grass-fed bison flavor comes out once you put a big chunk in your mouth. The sweet corn pops. I also really like the crunch of the diced celery (which retains a lot of its texture still).

You'll love this pretty healthy chili recipe so much that you will go through a pot faster than you think. I think there is something slightly addicting about the slow burn of the spice. The flavors only get better overnight in the fridge too.


Here's a great excuse for chili in the morning: huevos rancheros. Scramble some eggs, heat up some corn tortillas, and smear the chili over the eggs. Ohhh man.

Happy Halloween! - Pumpkin Muffins


Happy Halloween everyone! Here is something I baked up for the holidays. I used fresh pumpkin, some grated carrot, and walnuts. To prepare the pumpkin, I roasted it in the oven at about 375f until the flesh was soft. Then I scraped the flesh into a bowl and mashed it with a fork until I got a mashed potato-like consistency. 25 minutes or so in the oven and the muffins are done. I cut mine in half while they are still hot, smear some whipped butter on each half, and then drizzle a little honey on top. Yum!

Sunday, October 17, 2010

An Epicurean Treasure from Harrisonburg

I went back to JMU for homecoming. We lost the game, but the afterparty was certainly a victory. I caught up with some old friends at Jack Brown's Burger and Beer Joint, one of my favorite places in the world.


The special Saturday night was a bacon-wrapped, deep fried hot dog on homemade coleslaw. The bacon and frying methods kept the dog crisp on the outside and juicy on the inside. The bacon adds a little bit of a smoky and sweet flavor. The coleslaw is well-positioned, underneath the showcase of the dish. However, the crunchiness and the bite of the cabbage adds a nice flavor and texture contrast from the hot dog. Everything is sandwiched inside a sweet, Martin's potato roll. This is BY-FAR one of the most pleasurable eating experiences I've ever had. Kick up your tailgate with one of these at the next game!

Sunday, October 10, 2010

A Fall Feast!

Long time, no post! Although I've been busy with classes, I have been snapping a few pictures of the meals I have made. I will update those past meals later.

Well, fall is here- whether or not Mother Nature would like to admit it. I've welcomed this season by embracing some of its special ingredients today. All of these dishes below were cooked in one afternoon. I won't go into great deal about the meals, like I usually do, but I'll give some feedback below.


Savory Pumpkin Muffins

-With feta, parm reg, spinach, and walnuts. I'm no baker, but these turned out great.
Recipe modified from: 101 Cookbooks


Bacon, Bean, and Veggie Soup
-Uncured bacon, onion, celery, sweet potatoes, white northern beans and rosemary. It's sweet, savory, and has a hint of hickory smoke. The trick is sauteing the bacon, and then sweating the veggies in the bacon grease and scraping up those little burnt bits of black magic on the bottom of the pot.

This is a spinoff of a classic cold-weather soup my mom used to make. Usually I make it with diced, boiled ham, red potatoes, and sage.


-My ill-vented apartment will probably smell like bacon for days. GOD BLESS IT!

Herbed Spaghetti Squash
-Extra virgin olive oil, chopped parsley, minced garlic, salt n pepa. Spaghetti squash blew my mind when I first saw how it was prepared. You can microwave or bake it. I used a little muscle to slice the squash in half, scoop the seeds out (more on that below), and then placed them cut-side down in an oven at 400 degrees for about 30mins. Afterwards, I just pulled the sheet pan out and let the squash cool, but still continue steaming on the cut side. To serve, just take a fork and grate the inside of the squash. The flesh comes off in strands, like spaghetti.


It's a great side dish for any meal, especially if you want to skip some carbs.


Roasted Pumpkin and Squash Seeds
-Olive oil, kosher salt, garlic powder, black pepper, red chili flake. Don't waste the seeds! When roasted in the oven, they get a crunchy, nutty flavor. Eat the entire seed- they are full of fiber. There are a ton of recipes for flavors, both salty and sweet. Give me a bowl full of these over potato chips any time of the year.


It's amazing to see the colors on this sheet pan change from before and after the roasting process. It's like watching the leaves change colors right before your eyes.